Straw bale gardening is a technique that consists of bales which act as natural containers for your garden plants. This method of gardening is natural and it does not involve any plastic waste like other methods. As such, this makes it a perfect choice for any person interested in practicing organic gardening with limited soil.
If you want to learn about this method of gardening, this guide offers straw bale gardening instructions that can help you achieve your desired goals. You can also learn about the various benefits of straw gardening.
Table of Contents
Why Straw Bale Gardening?
There are many benefits that you can achieve from embarking on straw bale gardening at your residence. For instance, this method helps to promote gardening in places with limited space as well as poor soil. In some instances, this kind of gardening does not even require soil since the straw bales act as containers.
It also helps to lengthen the growing season by stimulating the weeds so that they can grow well. As the straw in the bales decomposes, it produces warmth which helps to enhance the growth of the plants. The growing period can even extend by a month during colder seasons.
Instead of making raised beds which are expensive, straw bales can play a pivotal role in providing naturally raised beds that are ready for fruit and vegetable planting. The bale itself is the frame so there is no need of buying wood or stone to create one.
The method of gardening is not labor-intensive since the bales are less likely to consist of weed seeds. However, straw bales dry quickly so you should constantly water them. Except when it rains, make sure that you water your straw bale garden daily.
You should also feed your plants at least twice a week when they are still young since bales do not contain nutrients. As the plants grow, you can feed them once a week.
How to Conduct Straw Bale Gardening?
Now that you have knowledge about the significance of straw bale gardening, there are different things that you should consider to successfully perform it at home. The following factors can guide you in your journey to become a successful straw bale gardener.
Where to Buy Straw Bales?
First and foremost, you must know that not all types of bales are similar. For instance, straw bales are weed-free and are ideal for a vegetable garden so you must go to the local garden center. You must also make sure that the bales are 100% natural and free of chemicals and pesticides that can affect the quality of your vegetables.
Choose the Ideal Location
The other important consideration is to choose an ideal place to put your bale garden in your yard. The location that you choose should have access to full bright sun which is essential for plant growth. It is also important to choose a place that is closer to the source of water so that it can be easier for you to water the garden.
Straw Bale Gardening Instructions
You should begin by placing about two sheets of cardboard or newspaper in the area where you will place your bales. The sheets should be directly underneath each bale and these are meant to prevent weeds from growing. You should arrange your bales in an orderly manner to facilitate easier movement when you tend your garden.
Conditioning the Straw Bales
This step is very important since you need to condition each bale to make it suitable for vegetable growing. Conditioning of the bales involves the following stages.
- Days 1 to 3: Soak each bale with water once you place them in the right place. You must do daily for three days so that the bales can begin to decompose. This is the first stage of conditioning which helps the bales to heat up so that the process of decomposition can begin.
- Days 4 to 6: During these days, sprinkle fertilizer, a cup of ammonium sulfate (21-0-0) or you can add half a cup of urea (46-0-0). Fertilizer contains nitrogen which speeds up the conditioning process, and it also contains potash and phosphorous which are also essential. You should thoroughly water each bale after applying fertilizer.
- Days 7 to 9: Continue applying fertilizer but reduce the amount while at the same time continuing watering each bale.
- Day 10: You can stop adding fertilizer on day 10 but you should continue watering to keep the bales moist.
You should check on day 11 if the bale is warm, not hot, it should feel like the temperature on your hand. If it feels hot, water it again. When you are satisfied with the condition of the bales, you can begin the planning process. You must also make sure that you keep your bales moist by watering them every day after planting your vegetables.
Planting Vegetables in your Straw Bales
Each straw bale should consist of the following vegetable plants:
- Tomatoes: between 2 and 3 plants per bale
- Cucumbers: about 4 to 6 plants per bale
- Squash: between 2 and 4 plants per bale
- Peppers: about 4 plants per bale
- Zucchini: 2 or 3 plants per bale
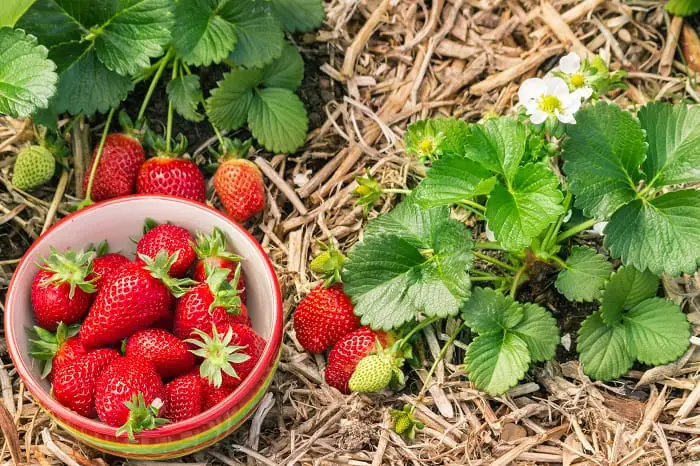
- Strawberries: 3 or 4 plants per bale
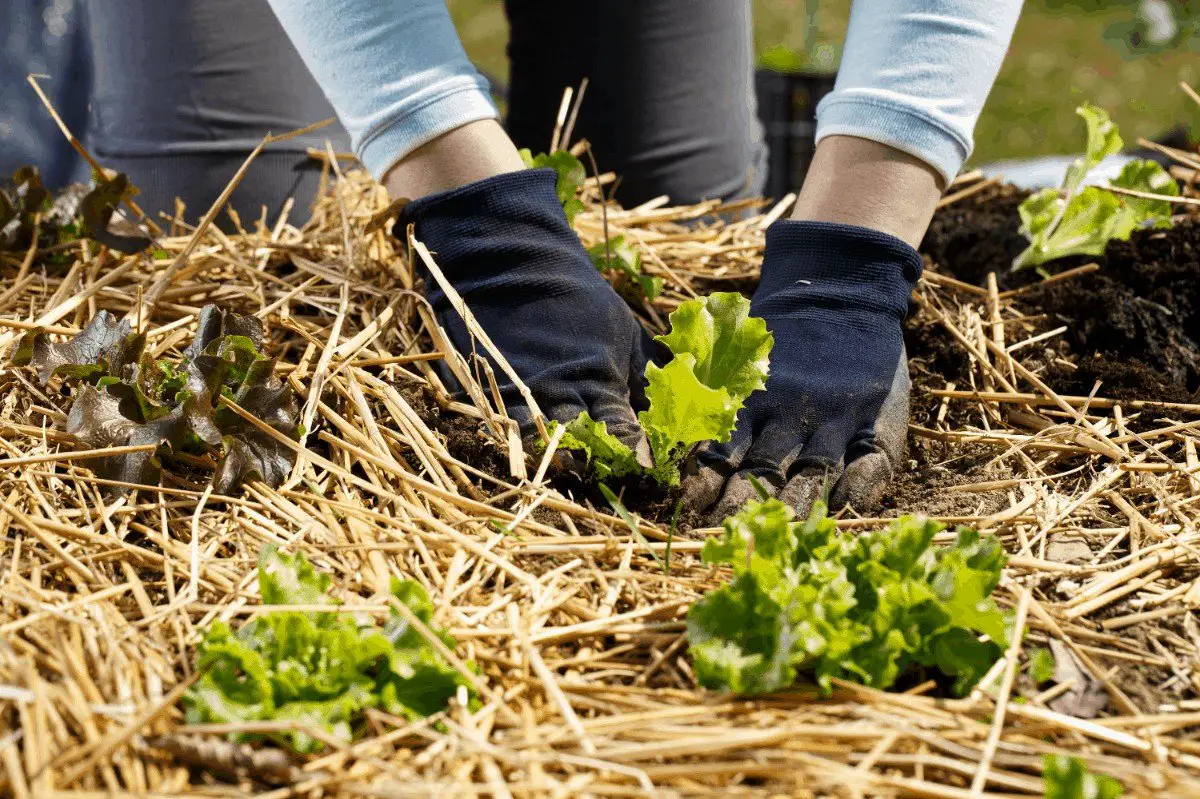
The number of plants like green beans and lettuce depends on different varieties and you can directly plant the seeds in your bale. When planting young plants, dig an ideal hole using a trowel and take it out of its container. Gently place it inside the hole and avoid damaging it.
Conclusion
Straw bale gardening is an excellent way of conducting organic gardening at your home and the method has many advantages. If you have limited space in your yard, you can significantly benefit from using this method of gardening.
I hope you have found this article informative. You can leave comments below or any questions that you may have.

